The Ultimate Guide to Install Hardwood Flooring
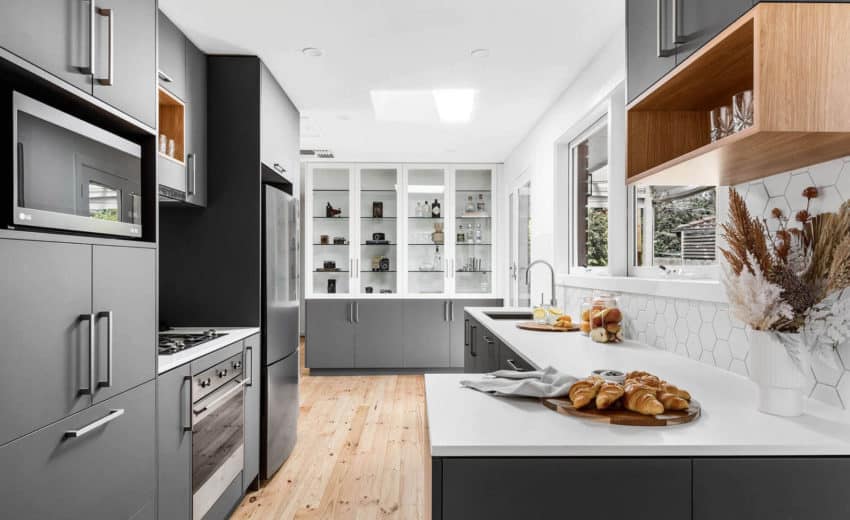
Let’s take a moment to appreciate the timeless beauty and benefits that hardwood floors bring to your home. There’s a reason why hardwood flooring has stood the test of time in the world of interior design. The warm, natural tones, the classic, elegant vibe, and how it effortlessly complements any decor style. These are just a few reasons hardwood flooring remains a top choice.
So, are you ready to transform your space with the natural elegance of hardwood flooring? Let’s dive in and begin this exciting adventure of bringing beauty and charm underfoot. From start to finish, we’re here to guide you on this transformative journey to install hardwood flooring!
The Beauty of Hardwood Flooring
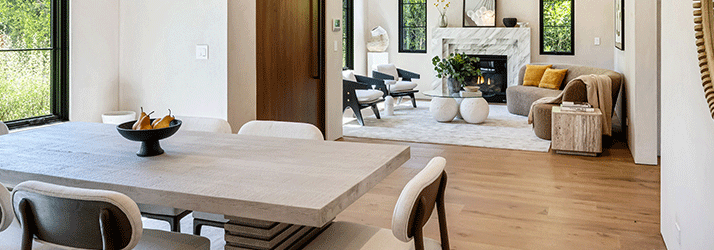
Imagine stepping into a room, and your gaze is immediately drawn to the stunning, rich hues of hardwood flooring. It’s like nature itself has been invited indoors, right beneath your feet. Welcome to the world where elegance meets durability – the realm of hardwood floors.
But it’s not all about aesthetics! Hardwood flooring boasts durability that can withstand the hustle and bustle of everyday life. From playful pets to energetic kids, hardwood floors can handle the challenges of daily living with grace. All while adding a touch of sophistication to your home that’s hard to match.
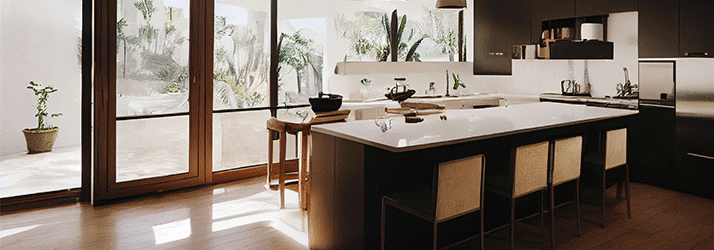
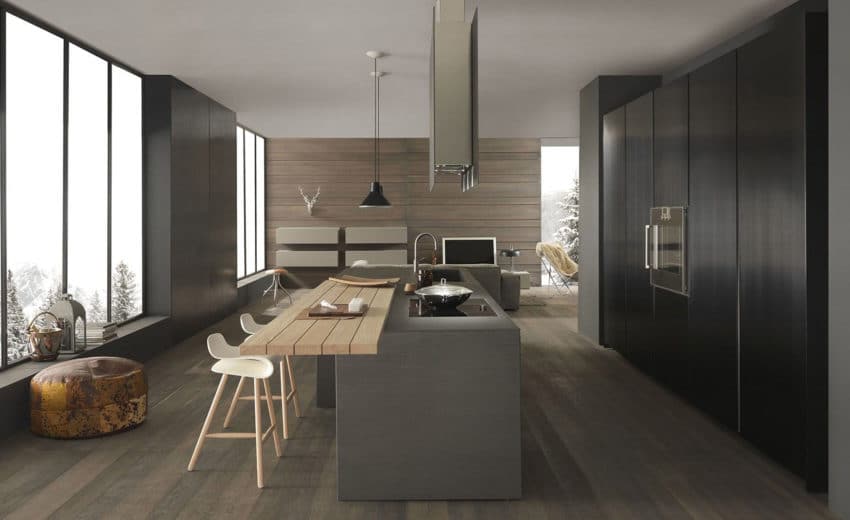
Now, let’s talk about the magical transformation that happens when hardwood floors come into play, especially during home remodeling Frisco TX. The connection is undeniable. Imagine the cozy appeal of a Frisco home – the fusion of modern living and a welcoming atmosphere. Hardwood flooring complements this vibe. All while adding a touch of rustic sophistication that complements homes.
Preparing to Install Hardwood Flooring

The Ultimate Guide to Install Hardwood Flooring
Now, before you roll up your sleeves and start hammering away, let’s take a moment to chat about the crucial starting point: the preparation phase. Think of it as the solid foundation for a successful installation. Just like you wouldn’t build a house on shaky ground, you wouldn’t install hardwood flooring without ensuring your space is prepped to perfection.
Prepping For Perfection
The preparation is the secret sauce that ensures your hardwood floors look incredible and stand the test of time. Imagine this: You wouldn’t throw a party without tidying up your space, right? Similarly, you wouldn’t lay down new flooring without prepping the area.
Before you even think about the luxurious grain patterns of your hardwood, take a step back and evaluate your canvas. Start by giving your current flooring a once-over. Is it worn-out laminate, outdated tiles, or just good ol’ concrete? Knowing what you’re working with helps you plan the next moves strategically.
Assessing the Foundation: Current Flooring and Subfloor
Alright, let’s talk about the existing flooring and subfloor. These elements play a major role in the outcome of your hardwood installation. Got carpeting? Rip it up. Old vinyl? Peel it away. Your hardwood needs a clean slate. Oh, and don’t forget to say goodbye to any protruding nails or staples – they won’t exactly make for comfy walking.
Next up, subfloors. These are like the unsung heroes of your flooring. The smoother and flatter they are, your hardwood will sit pretty better. Look underneath to see any water damage, squeaks, or irregularities. Address these issues now, and your future self will thank you.
Tools and Materials: Your Installation Sidekicks
Now that you’re all prepped and set, let’s talk about the trusty sidekicks that will turn your installation dream into reality. Here’s a quick rundown of the essentials:
-
-
- Hardwood Flooring: Well, duh! Choose the species, color, and style that speak to you.
- Underlayment: A moisture barrier that protects your hardwood from any lurking dampness.
- Nail Gun or Stapler: Your ticket to securely fastening those planks.
- Saw: Because planks often need a trim to fit snugly. Measure twice, cut once!
- Tape Measure: Your best friend for precision – no guesswork allowed.
- Spacers: These little helpers maintain that all-important expansion gap.
- Hammer and Flooring Mallet: For those satisfying final taps.
- Level and Tapping Block: Ensures your planks are level and locks them together seamlessly.
-
Step-by-Step Install Hardwood Flooring Guide
Before you even think about whipping out your hammer, give your hardwood planks a chance to cozy up to their new home. Wood is a bit like us – it needs time to adjust to new surroundings. Unbox those beauties and let them hang out in the room where you’ll install them. This acclimation period helps prevent any future drama like warping or gapping. A day or two should do the trick.
Paving the Path: Layout Planning and Starting Point
Now that your planks have taken the time to adjust, it’s time to map out your install hardwood flooring. Grab a pencil, some paper, and your creative cap. Start by deciding which direction you want your planks to go – vertical, horizontal, or diagonal. Lay out a few rows without nailing them down. This sneak peek gives you a chance to adjust your layout game plan.
As for the starting point, let your room guide you. Begin where your eyes naturally fall when you enter the space, often a doorway. Remember, this is a dance, not a race. Take your time to make sure the initial rows are perfectly aligned and spaced.
Planks in Place: Placing and Securing with Finesse
It’s finally time to let those planks do what they were born to do – shine on your floor! Grab that nail gun or stapler and give it a confident high-five. Starting from your carefully chosen starting point, lay down your first row. Remember to use those spacers along the wall to create an expansion gap – a little room for your hardwood to breathe.
As you proceed, it’s all about that staggered effect. Think about it like a puzzle; you don’t want all the seams to line up. This adds stability and visual charm to your install hardwood flooring. And here’s a pro tip: that tapping block? It’s your friend for coaxing those planks snugly together without causing any damage.
As you move along, the magic of install hardwood flooring happens as you secure each plank with nails or staples. Remember your layout plan, and ensure your rows are level and aligned. Don’t forget to leave a smidge of room at the edges for expansion.
Finishing Touches
We’ve covered the groundwork and nailed the installation, and now it’s time to add that oh-so-important cherry on top. Let’s do the finishing touches, where your floors go from great to jaw-droppingly stunning. Let’s dive into how to install hardwood flooring in style truly!
Sanding, Staining, and Protective Finish: The Grand Finale Trio
You’ve got your hardwood planks in place, a symphony of beauty. But now, it’s time to smooth out rough edges and transform those planks into a dance floor for your feet. Use fine-grit sandpaper and sand in the direction of the wood grain. It’s like giving your floors a spa day!
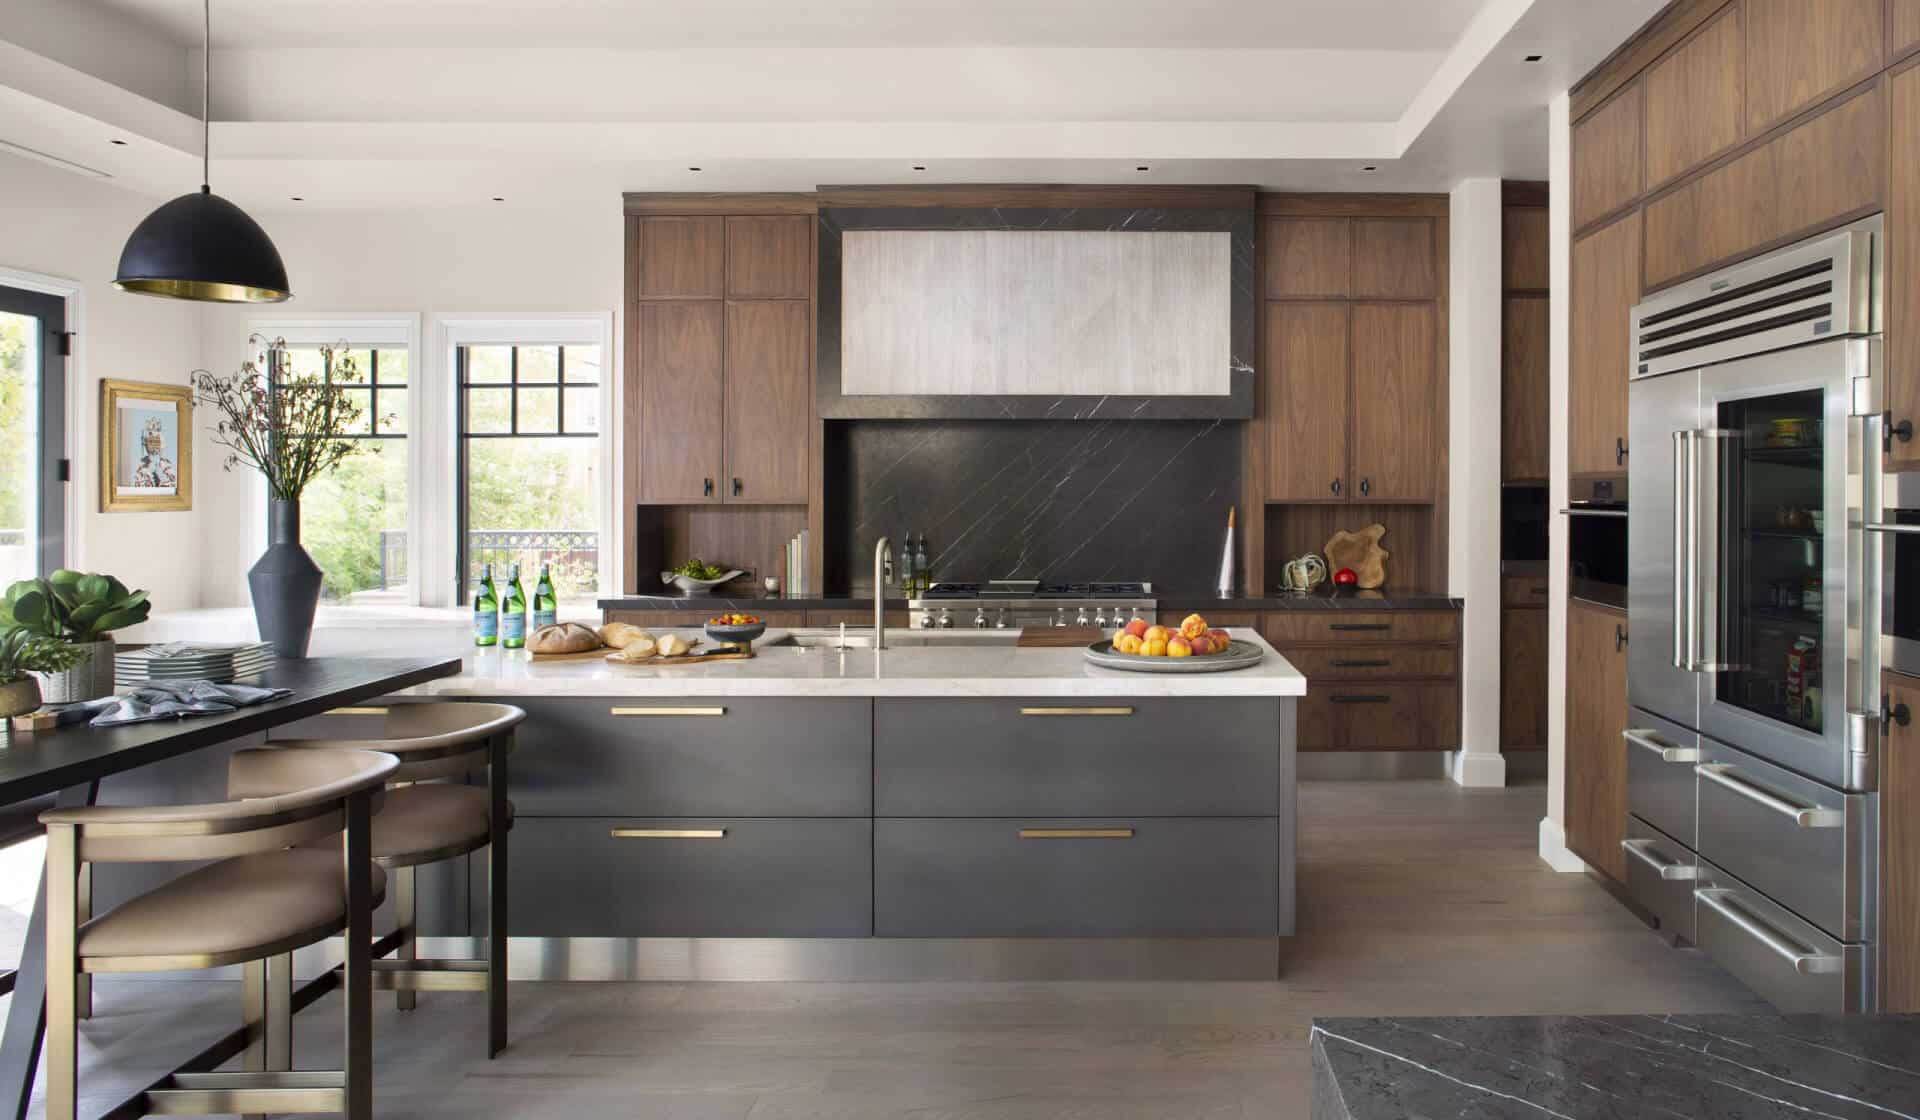
Next up, let’s talk staining. This is where your inner artist shines. Choose a stain that complements your space – from classic browns to modern grays or bold blues if you’re feeling adventurous. Apply the stain evenly and wipe away any excess. Voilà, you’ve added a splash of personality to your flooring canvas.
Now, onto the grand finale – the protective finish. Think of this like your floors’ armor against the world. A polyurethane finish adds durability, protects against spills, and gives your floors that glossy sheen you’ve dreamed of. Apply it carefully with a roller, working your way out of the room so you don’t get trapped like a graceful gazelle.
A Polished and Professional Appearance: Your Hard Work Paying Off
Imagine stepping back to admire your handiwork, and the light catches your stunning hardwood floors. You’ve gone from bare planks to a polished masterpiece. Those seams between planks? Seamless. The surface? Silky smooth. The color? Just right. It’s the kind of sight that makes your heart swell with pride.
To achieve this polished and professional appearance, take time during the sanding, staining, and finishing steps. Rushing through these final stages of install hardwood flooring is like leaving the house with half-tied shoelaces – it’s not the same. Slow and steady wins the race to the most jaw-dropping floors on the block.
The Significance of Finishing Touches: Beauty That Lasts
Now, let’s talk about the why. Why bother with all these finishing steps? Well, the answer is simple – longevity. These finishing touches aren’t just about aesthetics; they’re about ensuring your install hardwood flooring stands the test of time. The protective finish protects against everyday wear and tear, ensuring your floors remain beautiful for years.
Final Thoughts

The Ultimate Guide to Install Hardwood Flooring
As we wrap up this exhilarating journey through the ins and outs of install hardwood flooring, let’s take a moment to reflect on the key points that have guided us. We’ve covered everything from prepping your space and evaluating the existing flooring to nailing the installation and adding those all-important finishing touches. Each step, a piece of the puzzle, comes together to create a stunning masterpiece beneath your feet.
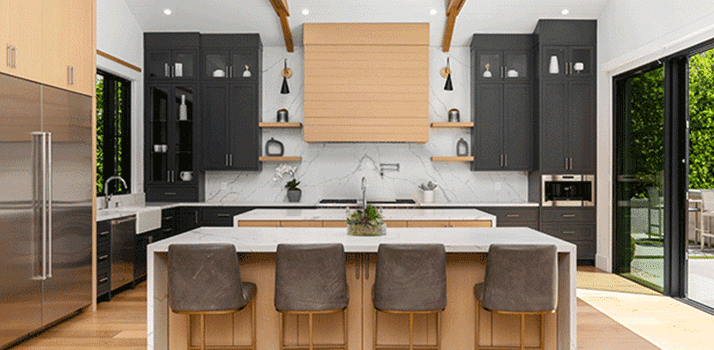
It’s not just about installing planks; it’s about creating an atmosphere that exudes warmth and charm. Hardwood flooring isn’t just a trend – it’s a legacy that stands the test of time. The gentle grain patterns, the inviting hues, and the underfoot comfort are all part of the magic that makes hardwood an eternal favorite.
Ready to Transform Your Space? Take the First Step with AMD Construction & Remodeling! If you’re itching to bring the elegance of hardwood into your home, our Ultimate Guide to Install Hardwood Flooring has armed you with the know-how you need.
Don’t wait— make your vision of your flooring a lasting reality!
Related blogs:
Turning Dreams into Reality: Home Remodeling Made Easy
Choosing the Right Remodel Contractors for Your Project
Hiring Home Remodelers 101: Tips for a Successful Renovation
Small Bathroom, Big Style: Creative Ideas for Maximizing Space
The Essential Guide To Planning And Executing A Shower Remodel